1 Went "training", both prototype and model - for details go to the new blog "Training Trips" at http://waymoretrainingtrips.blogspot.com/ that is now in development.
2. Went on a trip to several European countries, 6 languages and 5 different currencies. And a new blog for that has begun: http://2016rockingtrip.blogspot.com/
And have been working on various model and prototype railroad related projects.
First was to clean out the "stuff" in the main railroad room:
 |
| BEFORE |
 |
| AFTER |
 |
| AFTER |
The hat tree was in the storage room which is destined to be the staging area. To get the hats off the tree Dick Munnikyuysen made hat racks for the wall and the hat collection went there:


Some of my photographs and paintings have been moved out of the storage room ending up being hung in other parts of the house and given to family and friends.
Part of cleaning out the train room was to finish up a several decades old project of processing lichen. Below are the steps:

Basic ingredients is raw/cleaned lichen, cooking pot, outdoor stove, rubber gloves, Rit dye, glycerin, wire mesh and wood sticks

Here the raw lichen is in the cooking pot of water and glycerin.

As the lichen absorbs the water and glycerin and softens the wire mesh is put on it to get all the lichen in the liquid.

The sticks are used to hold the lichen under the liquid, lifting out the mesh and processed lichen
when the cooking is completed.

Curve templates were cut out of Masonite in preparation for track laying. The respective templates were measured accounting for the center line of the track so when the template is laid up against the appropriate inner or outer edge of the track the center of the track is on that radius:


Brackets had the little nib cut off and holes drilled for the wood risers to be added
:


Holes were cut for track to go through the walls between the closet and the train room. The screw driver provided a pilot hole for the saw:


The saw then went to work cutting the openings:


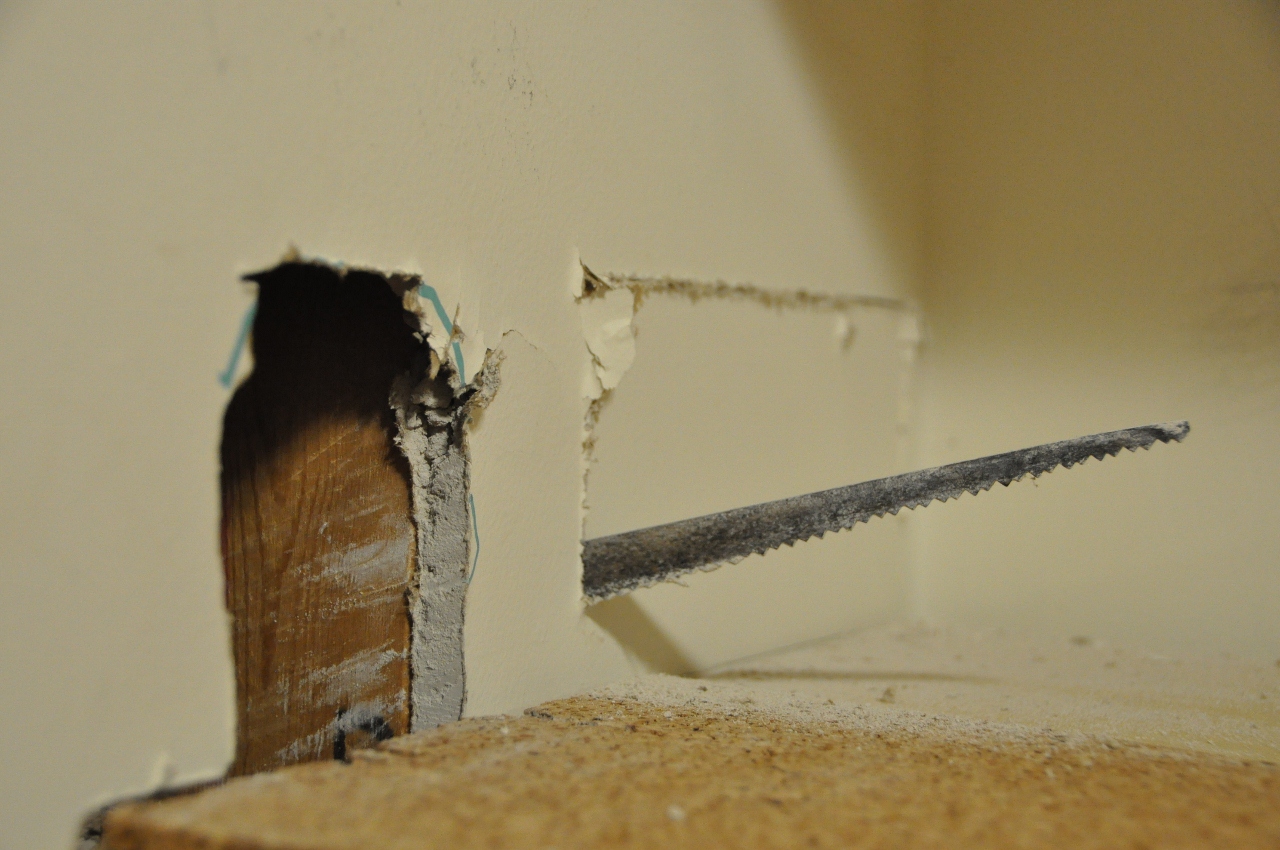
So now the two rooms are connected:


Using Doug Barry's laser level, all horizontal areas were marked on the wall. Note, how the laser level is used to connect the level of the yard in the closet to the level of the main line in the train room through the openings in the wall.


The level line is marked on the wall and uprights.


Purchased were 9 pieces of nominal 3/4 inch birch plywood, 10 layer thick. Each piece was cut and marked according to the templates and stored in the train room.

Since I did not have sufficient number of the long brackets and could not find any locally or on line of the single slot style, changed the lower level to be framed in 1 X 4 dimensional pine that had come with me from Lynchburg.


Observing upper and lower levels full scale has led to some adjustments in details of the layout plan, namely widths of each level in some cases.

The upper level peninsula will come off the board attached to the wall.

A homemade adjustment for the 2 X 2 legs were added before the installation of the legs.